Connect Stripe to your site
Connecting Stripe lets your site sell subscriptions — visitors pay through Stripe's hosted checkout, straight into your Stripe account. Shipbetter never touches the money and never sees a card number. Setup takes about five minutes and needs two keys from your Stripe dashboard.
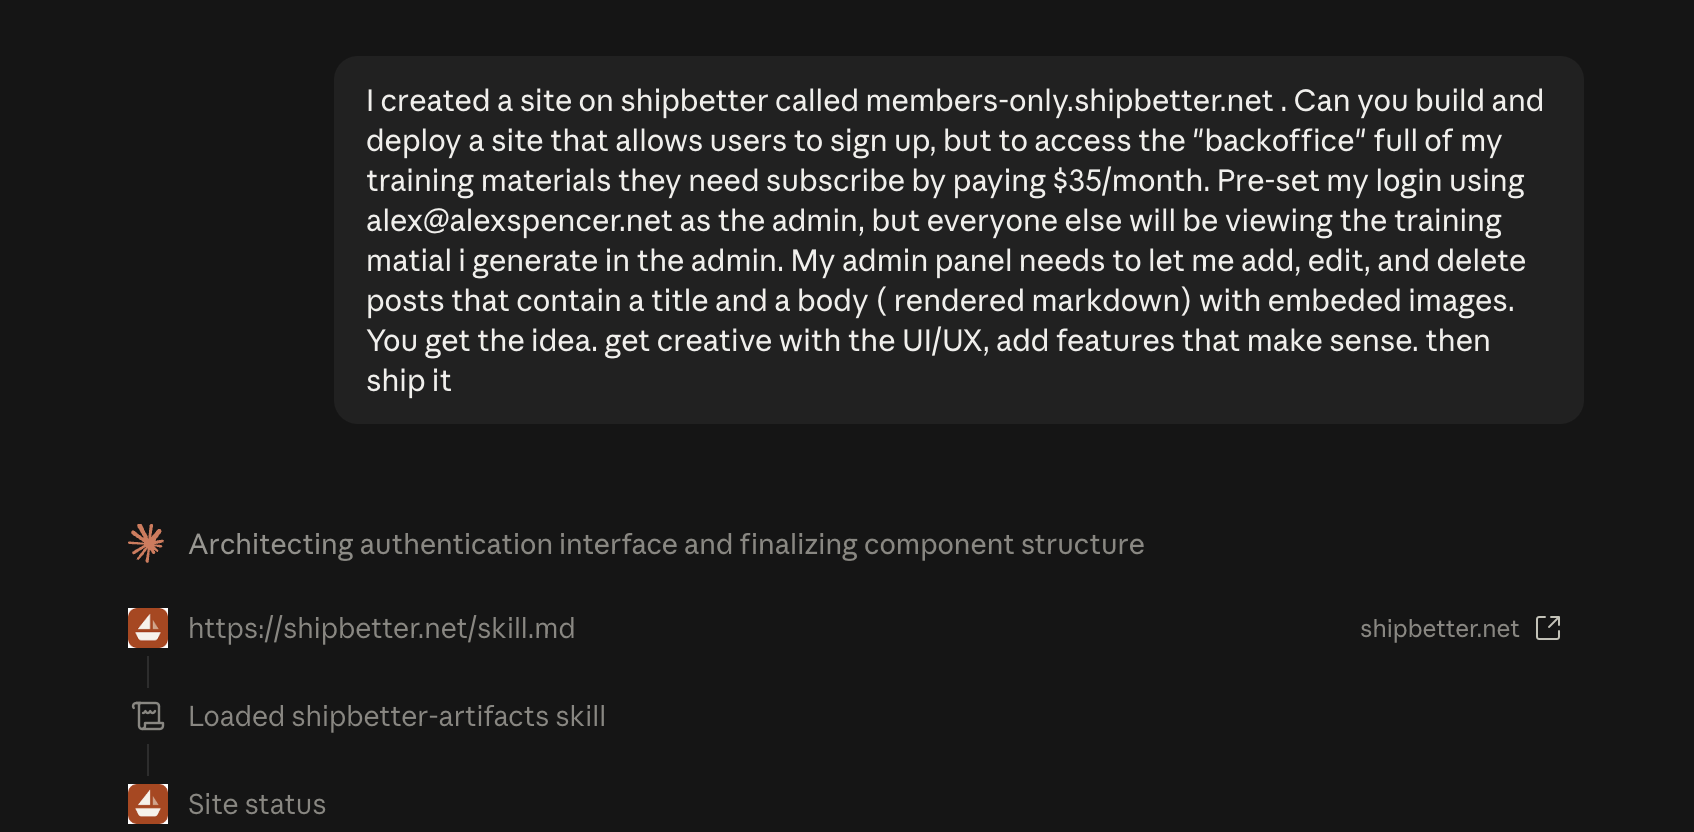
Once Stripe is connected, this is the whole workflow — describe the paid site to Claude and ship it.
1. Create a restricted secret key
Don't use your account's full secret key — create a restricted key that can only do what your site needs. If it ever leaks, the damage is contained, and you can revoke it with one click.
- Sign in at dashboard.stripe.com and open Developers → API keys — the fastest way is the search bar: type api keys and pick the first result.
- Click Create restricted key, and when Stripe asks how you'll use it, choose Providing this key to a third-party application.
- Name it after your site, for example shipbetter-mysite.
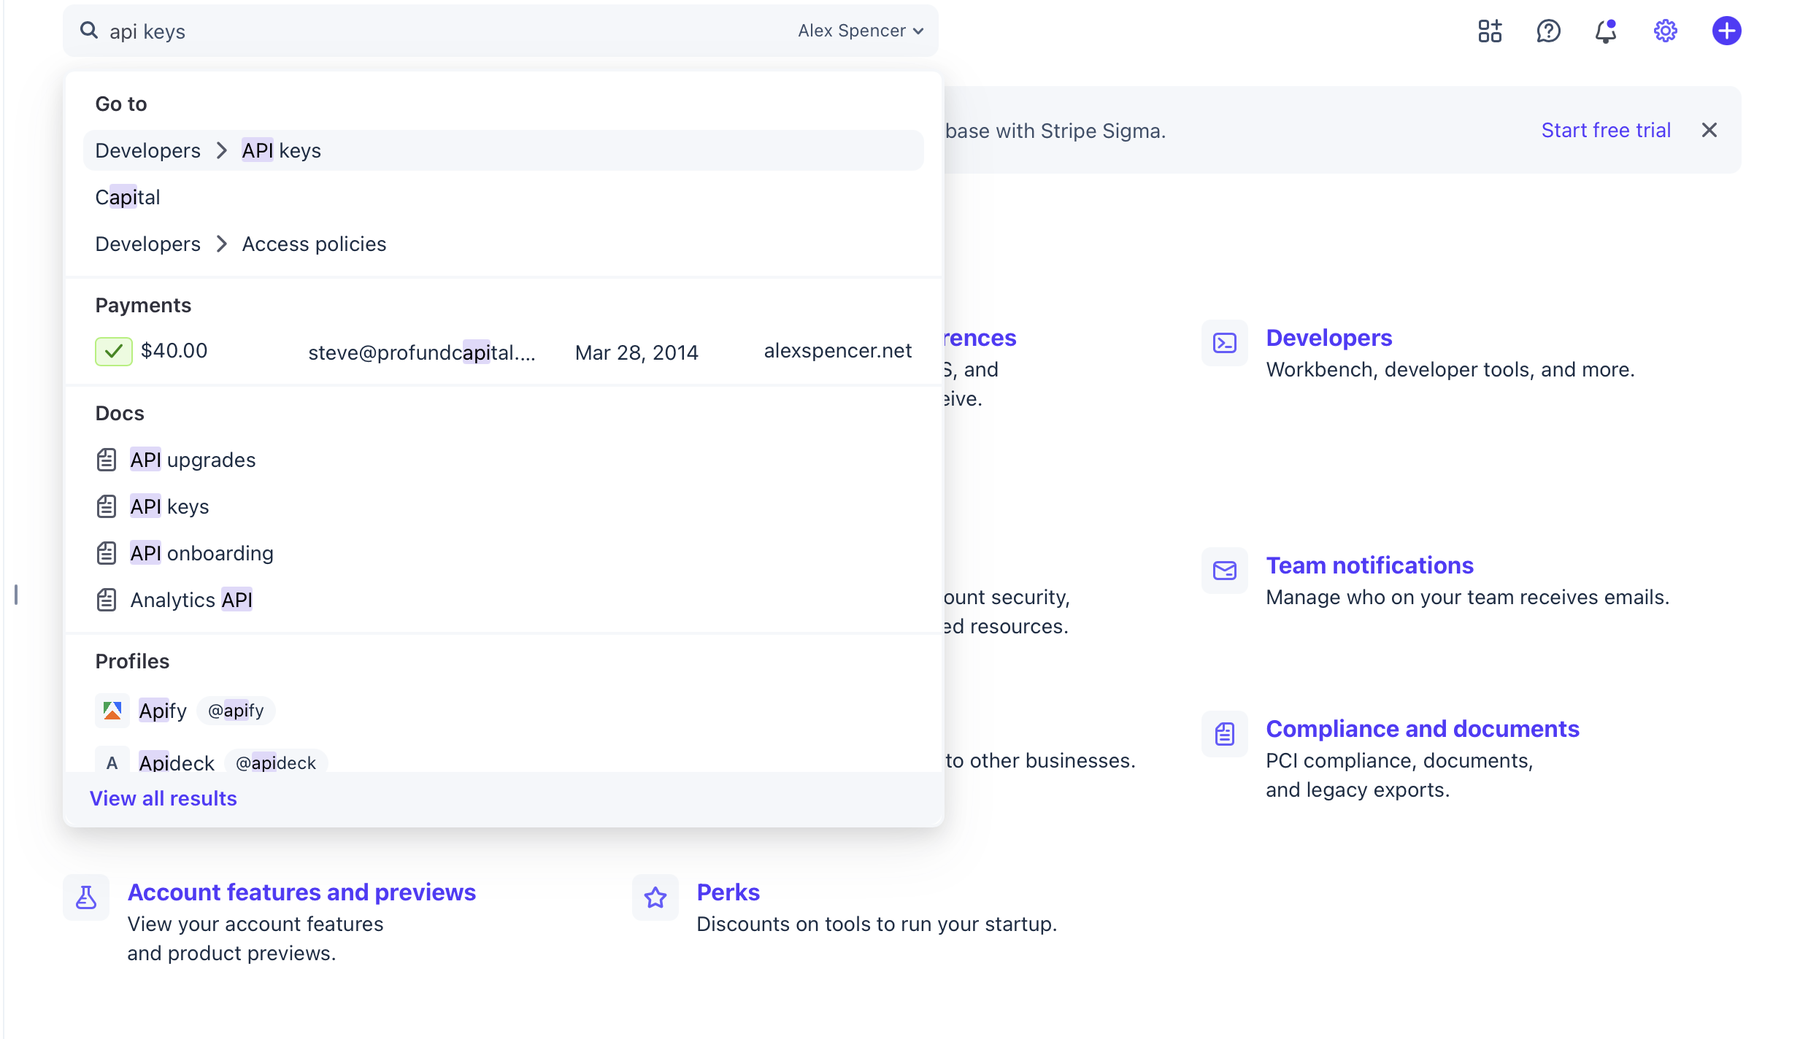
Search api keys from anywhere in the Stripe dashboard.
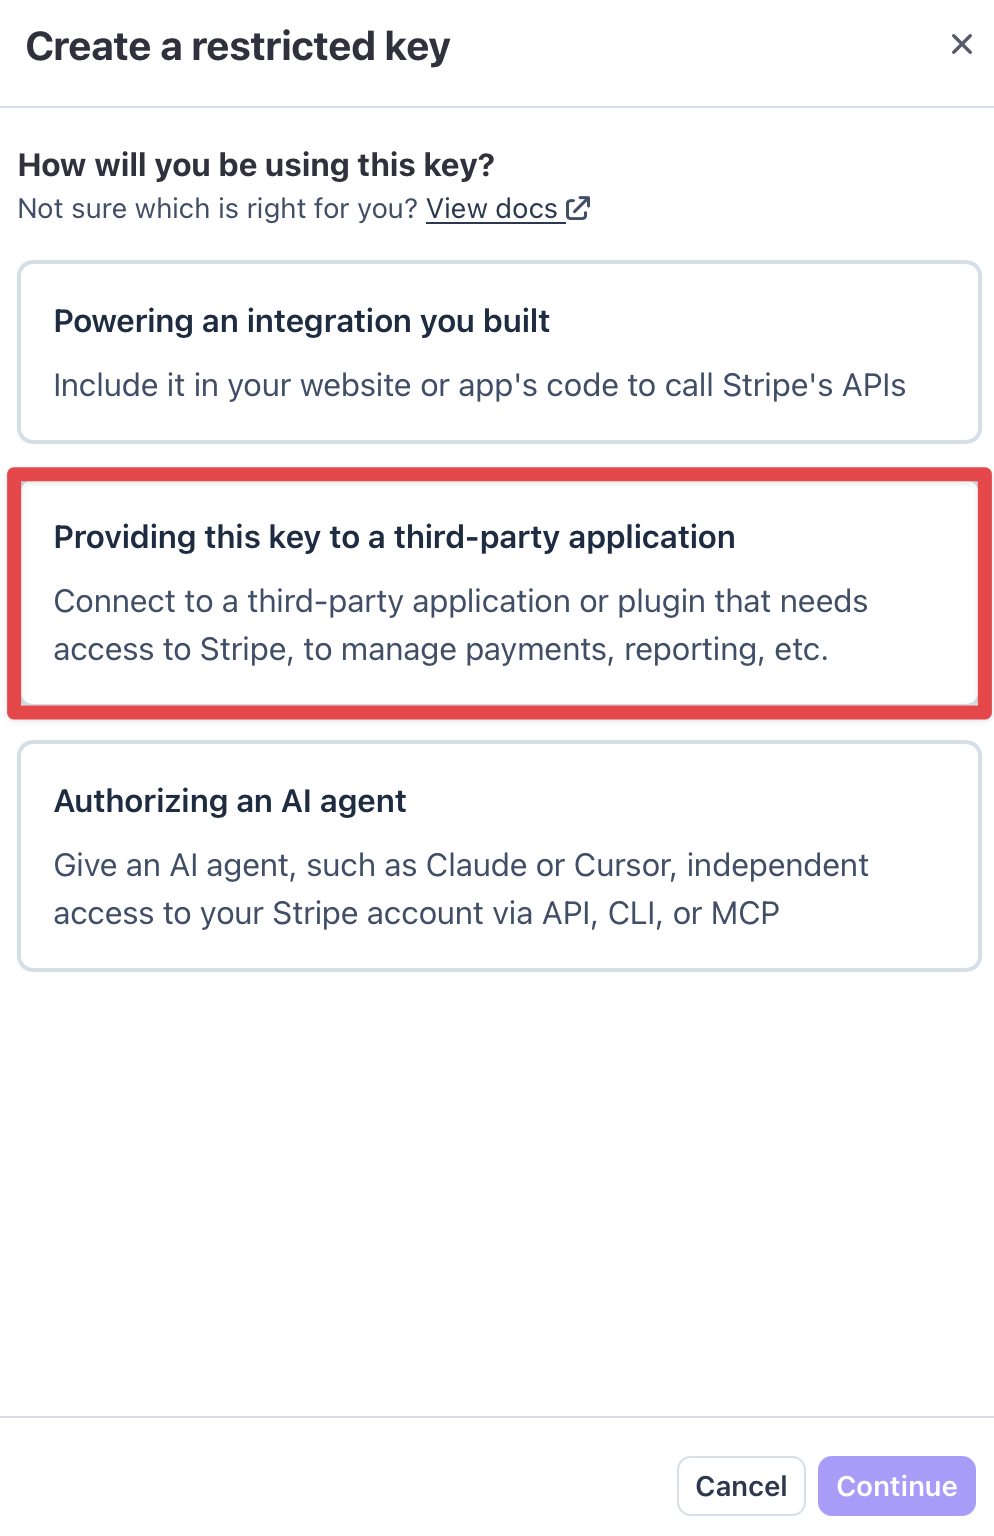
Pick the third-party application option — Shipbetter is the application.
Set exactly these permissions to Write and leave everything else on None:
- Charges — Write
- Customers — Write
- Checkout Sessions — Write
- Subscriptions — Write
- Products — Write
- Prices — Write
- Billing Portal — Write
Click Create key, then reveal and copy it now — it starts with rk_live_, and Stripe only shows it once.
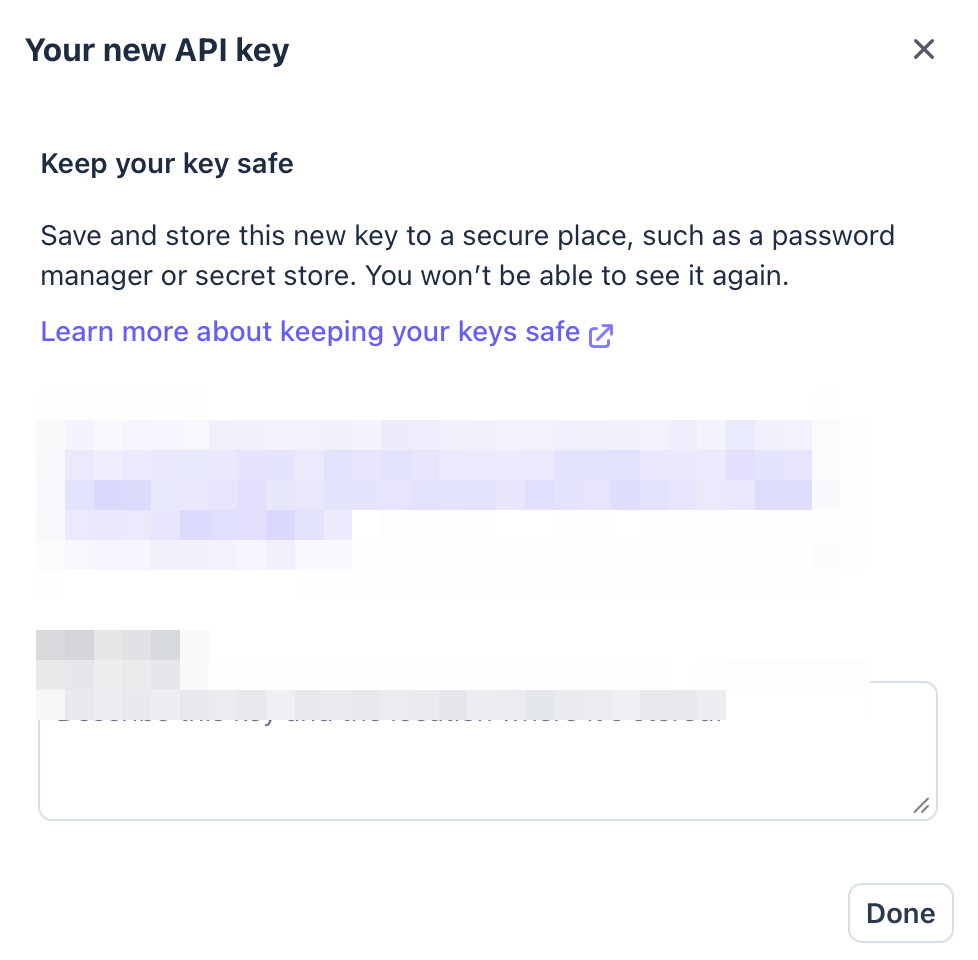
Stripe shows the key exactly once — copy it before closing this dialog. (Key blurred here, obviously.)
2. Copy your publishable key
On the same API keys page, copy the Publishable key — it starts with pk_live_. This one is safe to be public; it only identifies your account and can't move money.
3. Paste both keys on your site page
- On your dashboard, open the site and find the Monetization card.
- Paste the restricted key and the publishable key, then click Connect Stripe.
- Your site restarts and picks up the keys within a minute — subscribe buttons go live on their own.
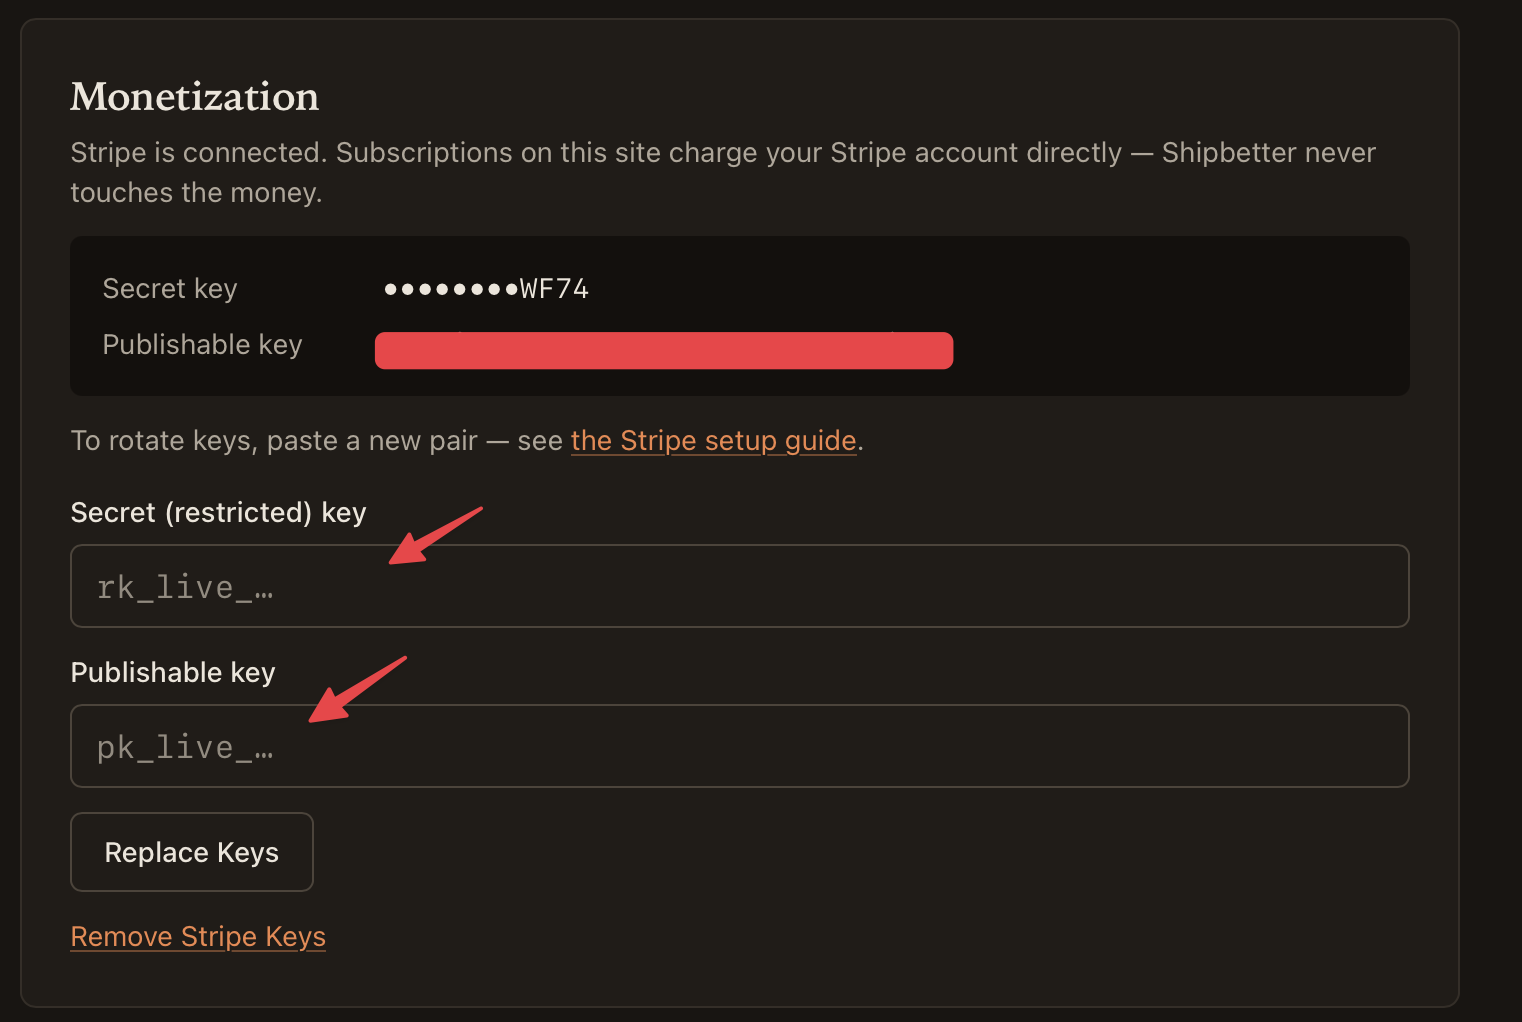
The restricted key goes in the first field, the publishable key in the second. The same card rotates keys later.
Testing first? Use your Stripe test mode keys (rk_test_… and pk_test_…) and Stripe's test cards, then swap in live keys when you're ready to charge real money.
How your keys are handled
- The secret key is encrypted at rest and reaches only your own site's server process.
- It is never shown again in full — the dashboard displays only its last four characters.
- It is never sent to any AI model, never written to logs, and never included in your site's source.
- Card details go straight to Stripe's hosted checkout — they never pass through your site or Shipbetter.
- To rotate: create a fresh restricted key in Stripe, paste the new pair, then revoke the old key in Stripe.